Objectives
- Add and manage signees
Steps
After the Approval is done, your contract is now ready to be signed.
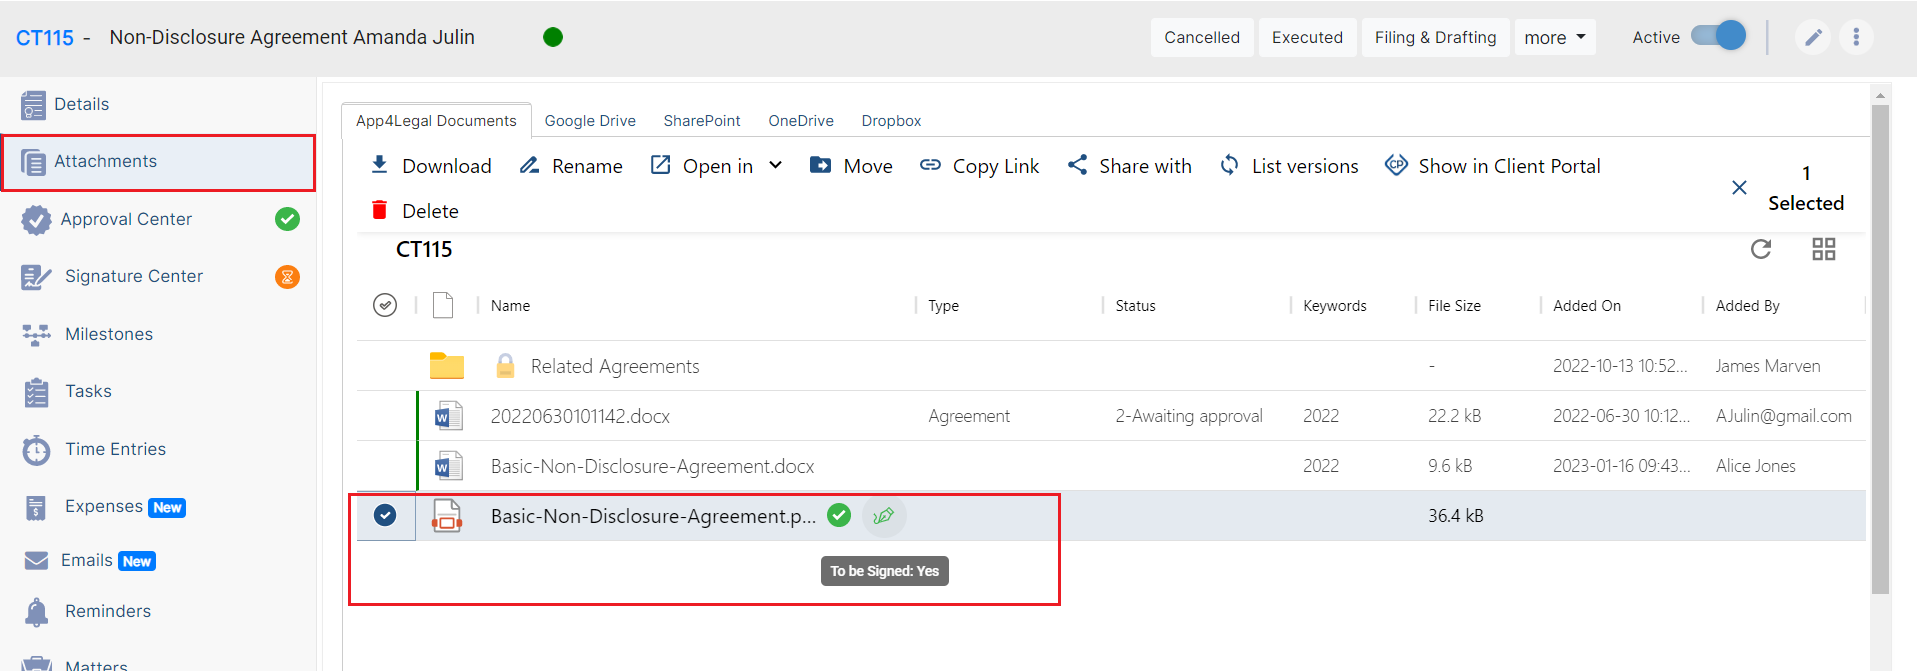
Note: Make sure to change the "to be signed" status of the contract document from the Attachments tab to "yes".
The Signature Center can be configured based on predefined business rules from the system settings. However, admins can add signees manually from the Signature Center of each contract.
The list of signees could use App4Legal or Adobe Signature Workflow.

Click on Add/Edit Signees to add a new one or edit the existing signees.

When adding a new signee, you can specify:
- Set the Signature Order by just clicking on the checkbox
- Users: You can select users, collaborators, or Persons who are authorized to sign on behalf of this contract/document.
- Users Groups: Specify User Group(s) which are authorized to sign this Contract.
- Ability to set the Label/Summary if needed

Signees can sign either internally through the system, or using DocuSign.

You have also a section for the Signature History, you can see the action done, the changes, the date and time, and comments. You can from the action wheel export them to excel.
Please note that DocuSign integration needs to be configured: https://documentation.app4legal.com/display/A4L/Docusign+Integration
For more information about App4Legal, kindly reach out to us at help@app4legal.com.
Thank you!
This page has no comments.